Can a language model design a part that prints and works?
Fully open source under the MIT licence: the code, the tasks, the checks and every saved run are in the GitHub repository.
Language models were asked, in a person's own words, for a part to 3D print. Of their designs, this many pass:
on the first printreprint after feedbackthe same first prints; each one that didn't pass was sent back oncetest prints firstfewer trials ran; in some the person couldn't say how a test piece came out
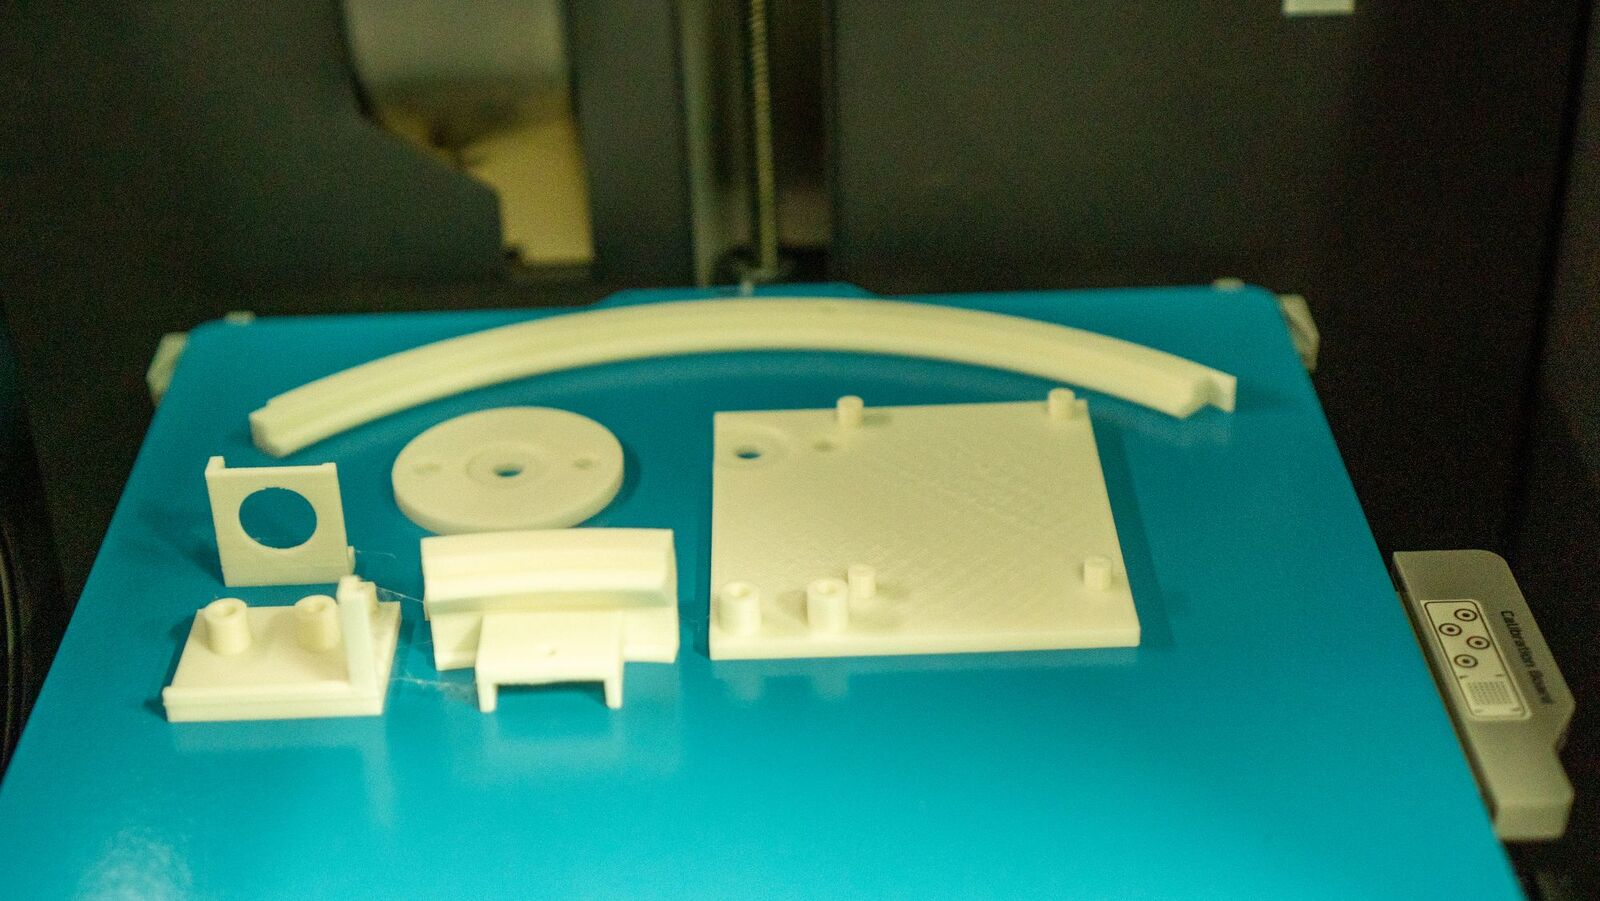
Some of the test prints the designs are graded against. No complete model design was printed.
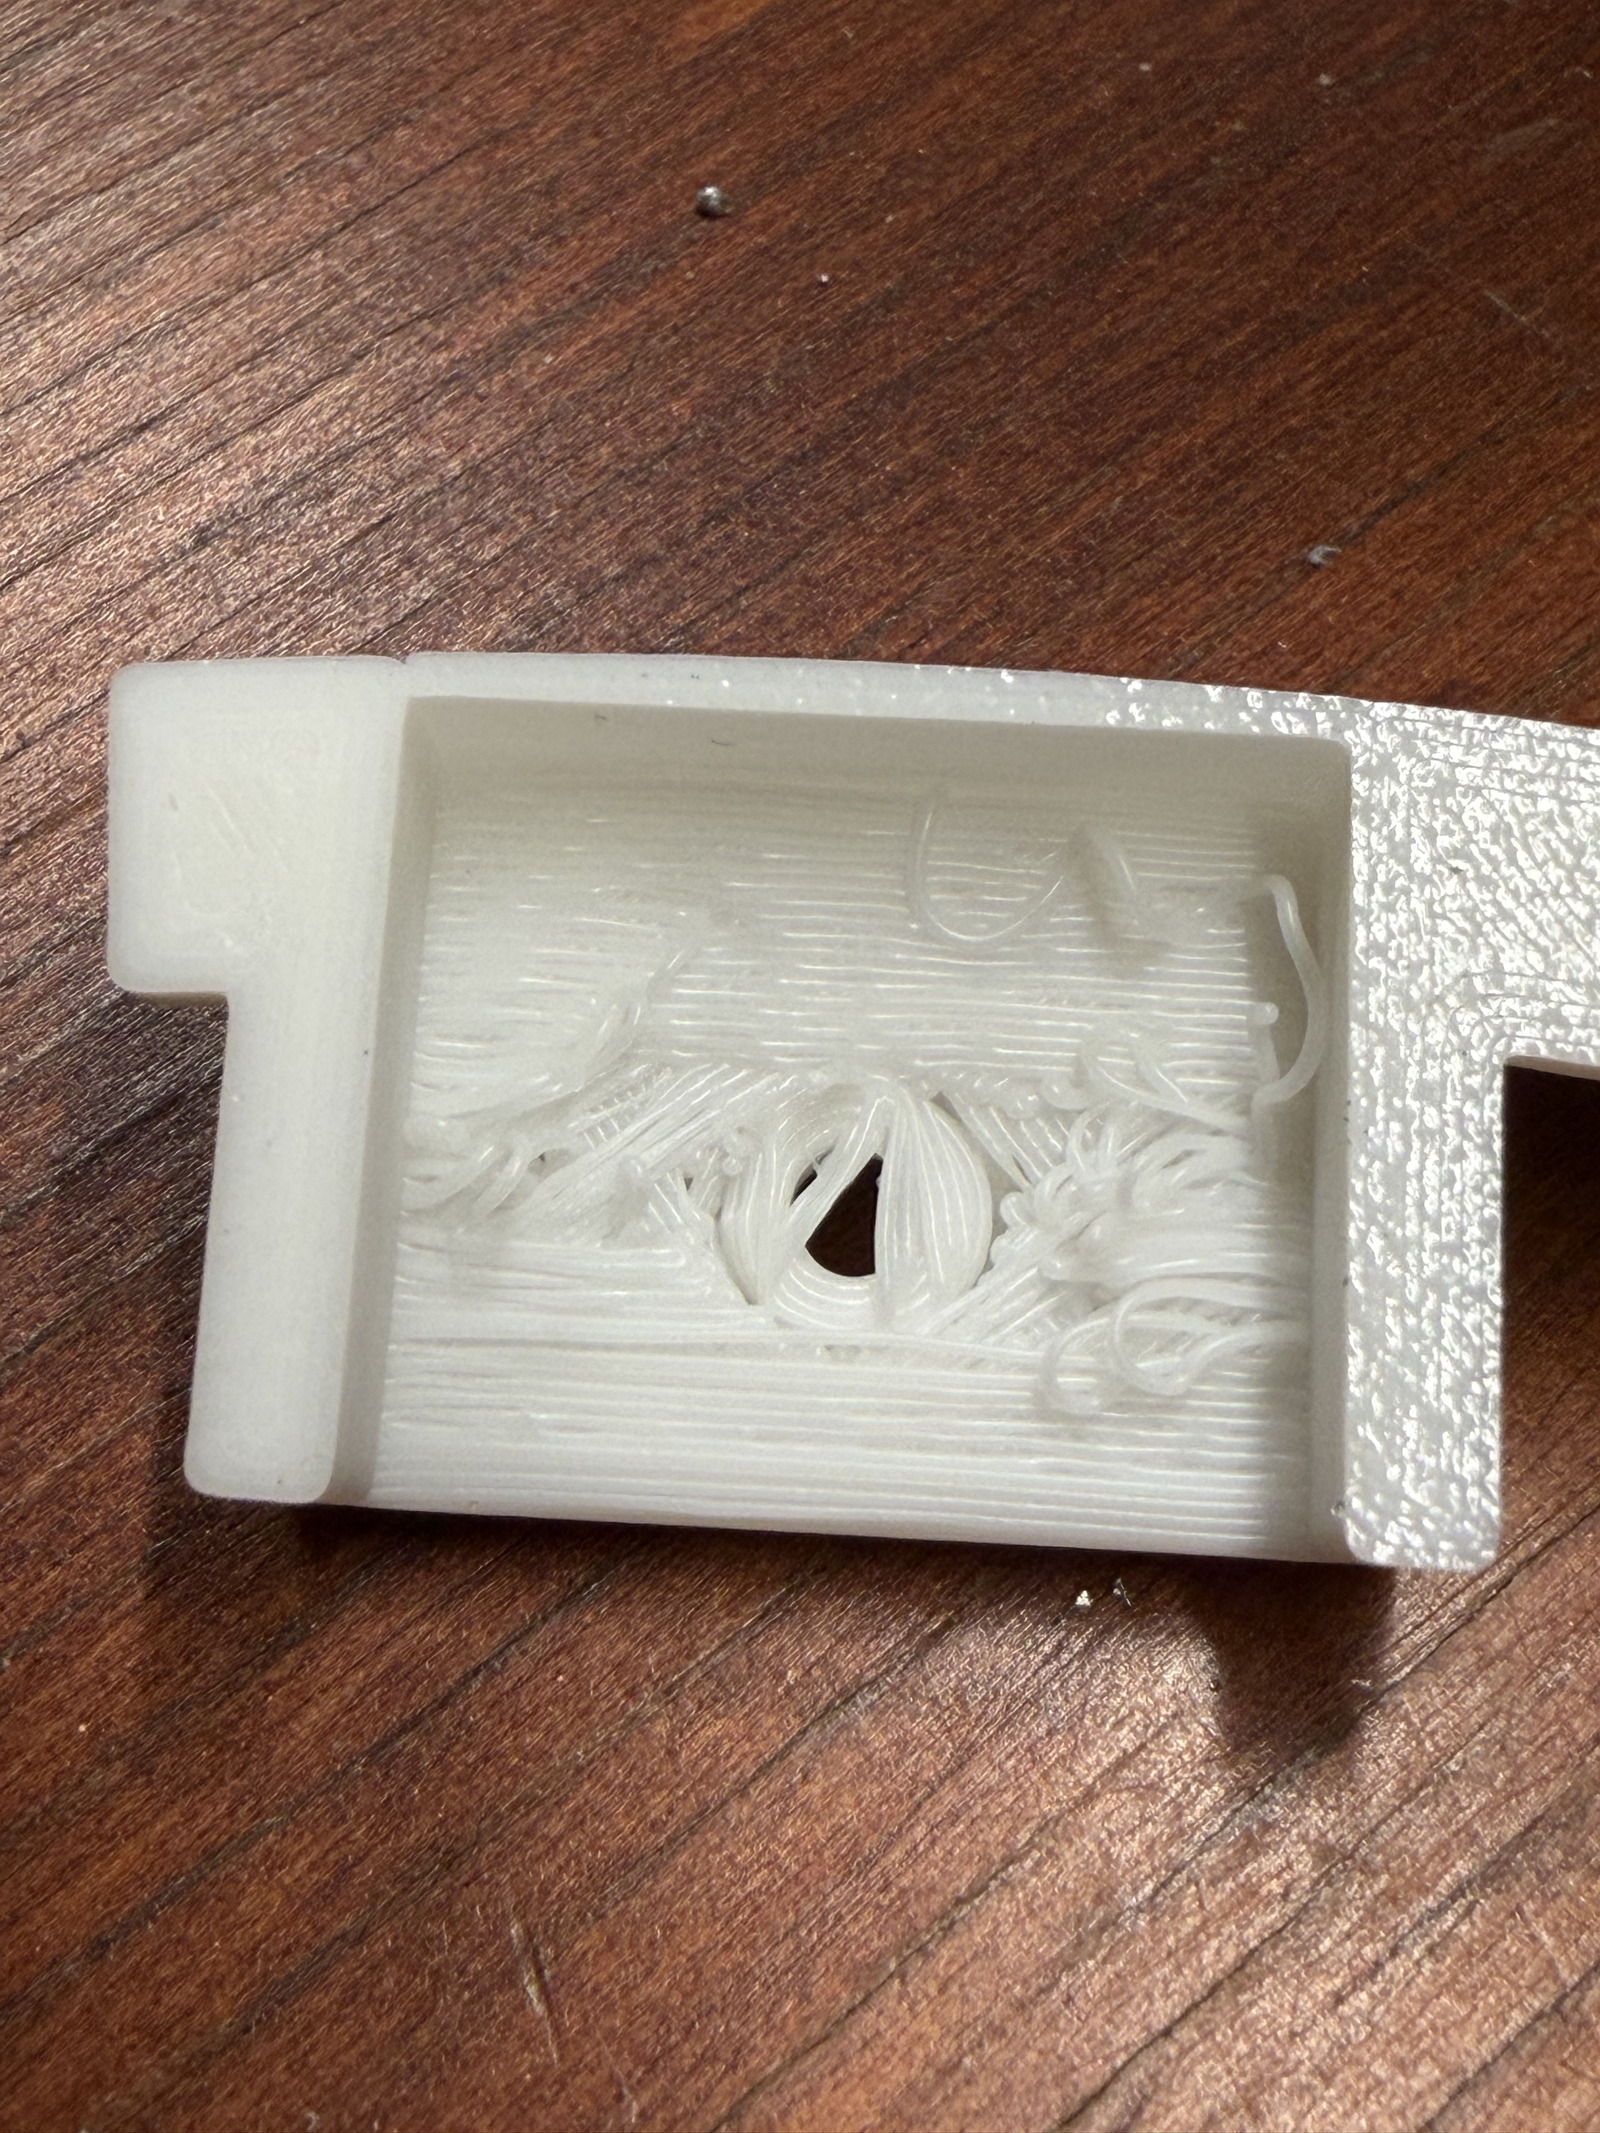
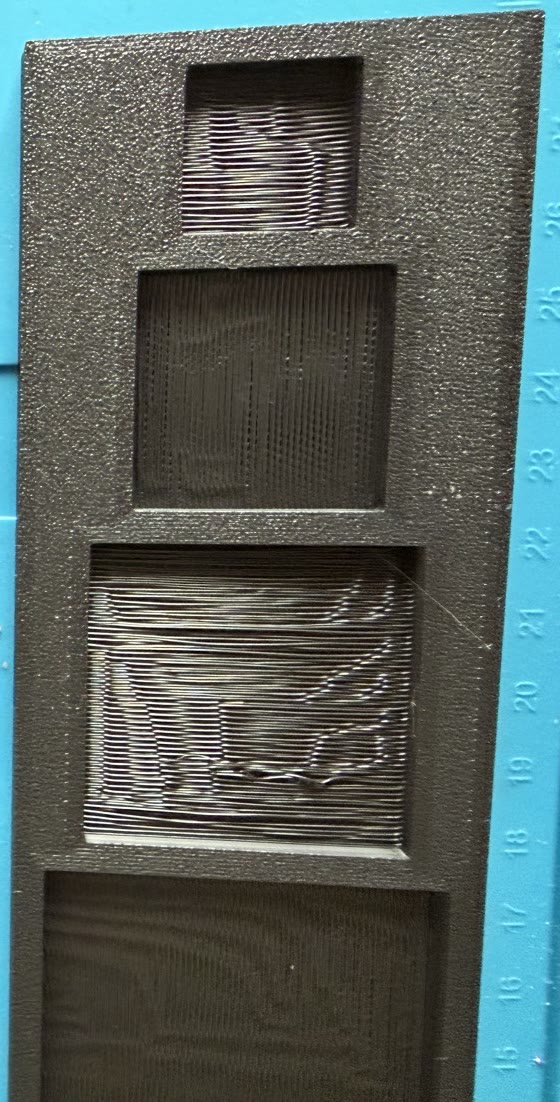
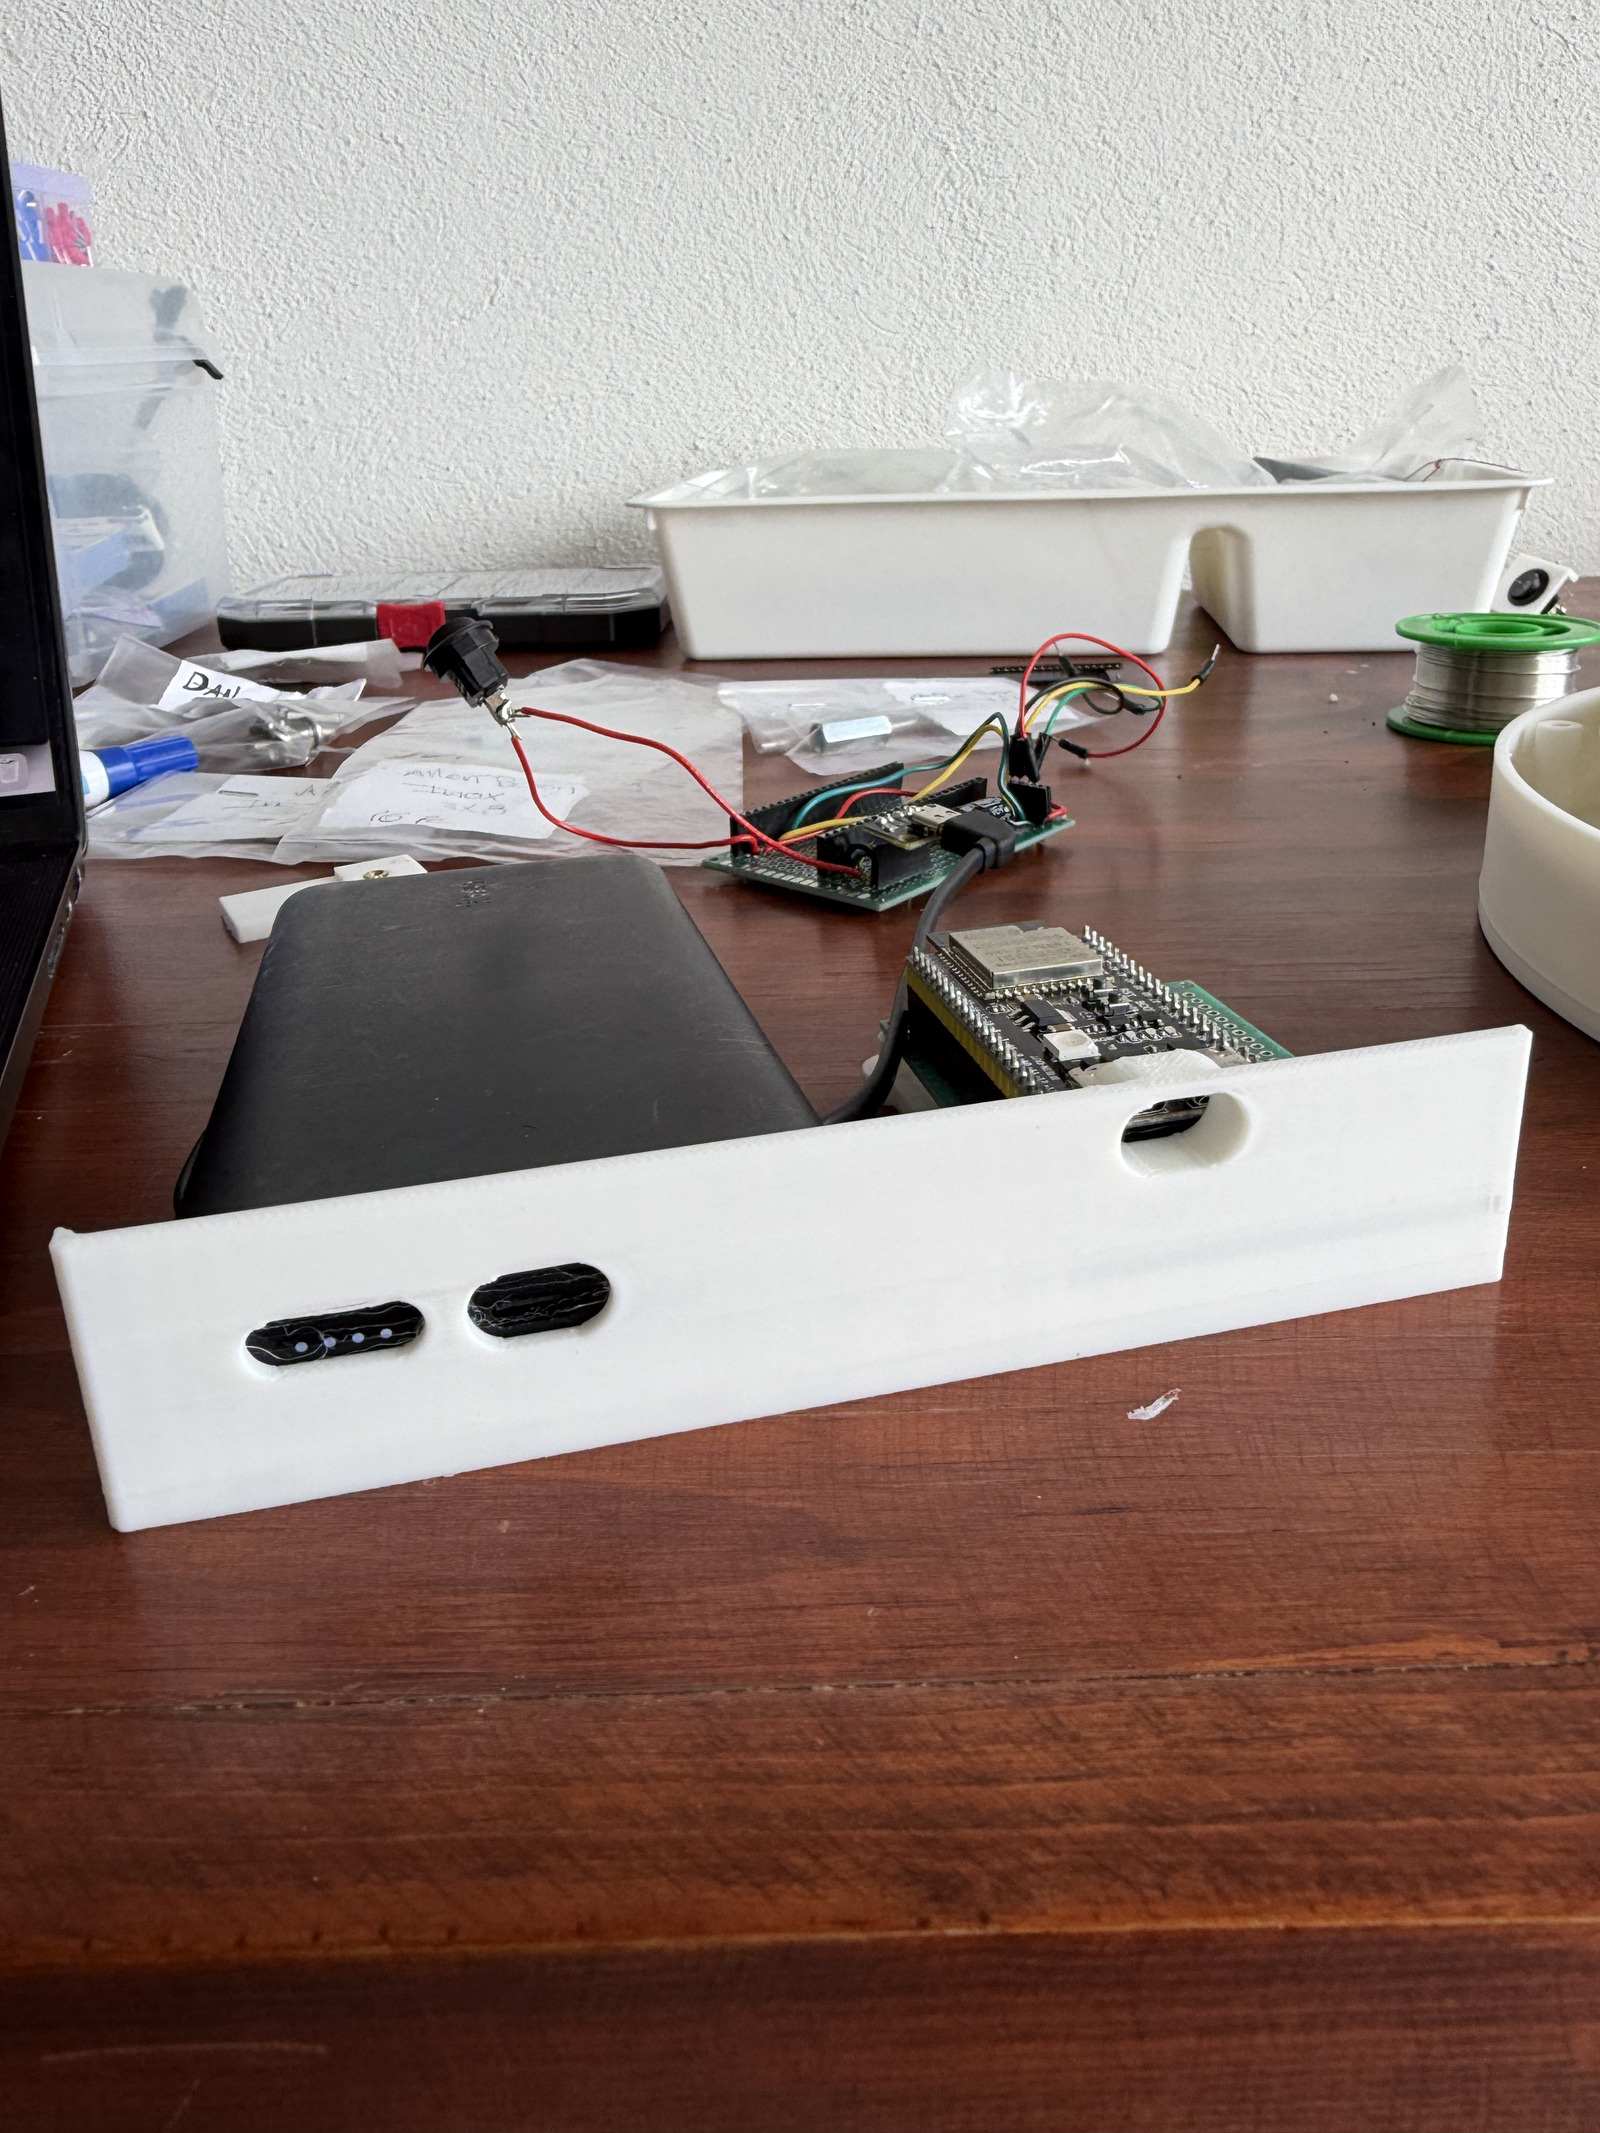
A plate of small test printsA roof over a hole: it printed as loose loopsRoofs over pockets 20 to 50 mm wide, to see which ones print cleanA wall with USB-C openings, with the real parts behind it
Why this eval
This is an open-source eval of how well LLMs design functional 3D prints: things that have to do a job once they're printed and put together. A functional print is rarely one shape. A robot arm, a light enclosure or a camera mount is several printed parts joined with screws, nuts, heat-set inserts or bearings, and it only works if every part prints, fits the hardware, and fits the other parts.
The tasks so far start smaller: a camera plate for a tripod, a hand knob with a nut pressed in, and a closet-door wheel on two bearings, each a printed part that has to print without supports and fit real hardware, plus a harder multi-part enclosure for a wall light. The assembly steps the model writes aren't graded yet.
Each task gives a model a request in a person's own words, with the measurements and hardware on hand. The model writes the CAD code for each part, picks the fasteners and writes the assembly steps. The eval then grades the design in code before anything is printed. Will each part print? Will the screws reach their inserts? Will the plug fit through its hole? The answers come from test prints I've actually made.
Printing is slow, and a wrong design costs hours and material before you find out. So the questions are:
Which models get a design right on the first print, and at what cost in tokens, material and waiting?
Can we tell whether a print will work before printing it?
When a model is told what went wrong, the way a test print would tell you, does its fix get closer?